
How to Make Your Own Pet Tag at Home (5 Easy Methods)

Pet tags are important. They’re a great way to introduce your pet and let others know they have an owner if they ever get lost. From cats who like to wander to dogs that love being let off the leash, a pet tag gives you peace of mind.
Many creative pet parents choose to make their own pet tags. This means they get full creative control over the process and are able to make a tag that truly reflects their pet’s personality. Pet tags also make great gifts for other pet owners!
This guide will provide you with 5 creative and easy ways to make a homemade dog tag, cat ID tag, or small animal ID tag. You’ll also learn some material and design recommendations, plus tips for comfort.
Why People Make Homemade Pet Tags
While you can get commercially made pet tags, there are many pet owners who choose to create their own for a number of reasons. Here are why people are drawn to the DIY route, and why you might agree once you try it yourself:
Cost Savings
If you have a lot of pets (and a lot of tags to buy) or you want multiple pet tags for one pet, making them might actually save you more money than buying them separately. You may also be able to get pet tags engraved specially by professionals online, but, again, it’ll be much cheaper (and more meaningful) to make your own.
Creative Control
You can customize a pet tag to perfectly match your pet's personality, rather than settling for limited options you get at the store. Not to mention, if your pet has an unusual name, the store might not even have one. Making your own solves this problem.
You Can Make Backups
Creating your own pet tag means you’ll have one (or two) at hand when you need it, without having to order one or go out to buy it.
They Make Thoughtful Gifts
Personalized pet tags make perfect, meaningful gifts for friends and family, whether they’re new pet parents or want a new tag for their beloved family pet – especially if you’re the one who made it.
Essential Materials for Pet Tag Engraving
Gather basic supplies before you start. You’ll need just a few materials for most DIY pet ID tag projects, so you can buy everything in one trip. Pet tag blanks come in different sizes, so choose one that fits your pet.
Basic Tools For Any Beginner Tag Maker
- Blank Tag Piece: Order a durable tag made of metal, wood, acrylic, or leather sized to fit your pet for maximum comfort while they're walking or playing.
- Marking Tool: A stencil, sketch, or simply text on paper can assist you in making accurate marks before you cut or engrave.
- Engraving or Stamping Tool: Depends on the material and price range you want to explore for your pet tag; try letter stamps, a marking pen, or a laser engraver.
- Protective Surface: You can lay your tag on scrap wood or a stamping block to prevent table damage and to help you stabilize your tag while working.
If you are using a marking or engraving pen for this process, it’s good to have a lighter, more controlled option. A cordless pen like the Resparked Customizer™ Engraving Pen is a wonderful choice for beginners. It requires no outlet power (it uses a USB-C charging cable) and has three adjustable power settings to handle several types of material, such as an etched metal blank or soft leather blank.
How to Engrave a Dog Tag Using the Engraving Pen Method
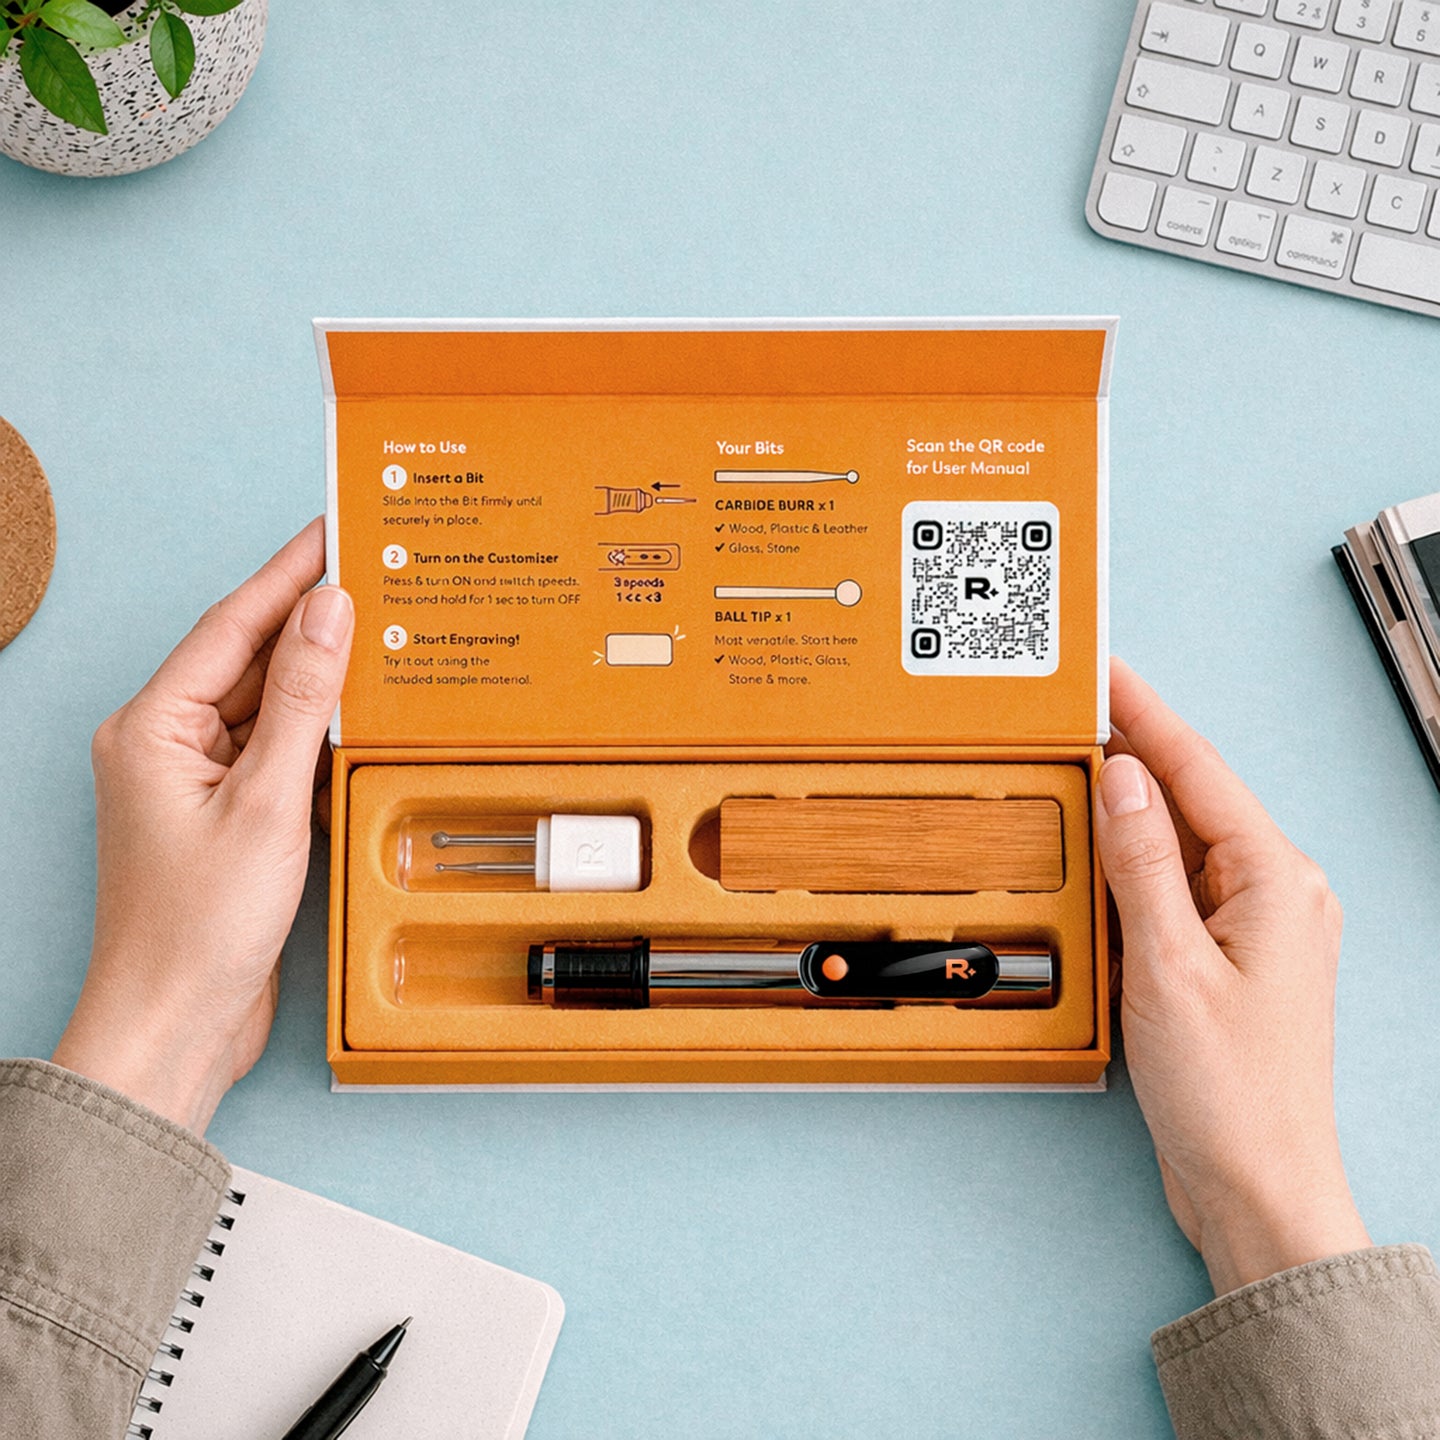
Customizer™ Engraving Pen
Beginner-friendly and trusted by serious makers
Shop NowAn engraving pen gives the most permanent results and has the quickest learning curve. Follow this method for a clean, professional look:
- Create your design or have it written out so that you know exactly what to trace and engrave. You can use stencils or engraving templates to make things much easier. They help guide your engraving tool, so you don't need to draw the design freehand or have a perfectly steady hand.
- Center the blank tag on a surface so that it does not move as you work.
- Use the engraving pen to lightly outline your design. Go over the traced line slowly and steadily to get the desired depth.
- You can frequently inspect the tag and your writing during this step to make any necessary corrections without significant effort.
- Use a soft cloth to clean away any excess residue; then add a jump ring to your new, personalized ID tag.
With the amount of tools available to buy online, it can be hard to tell what engraving tools are legitimate. The Resparked Customizer™ Engraving Pen is a good and trusted pick for engraving since it’s easy to control while holding it; as you carefully engrave the fine, small writing required for a pet's ID, it would be very comfortable to grip in your hand for an extended period, and you can easily connect it to a collar once it's engraved.
If you need more information, see our guide on how to start engraving.
Other Fun Ways to Make a Pet Tag at Home
An engraving pen is not the only option. These methods are simple, and a few even turn into a fun weekend project for the whole family.
Alternative DIY Methods Worth Trying
- Pour colored resin into a tag-shaped mold if you want it to have a glossy, one-of-a-kind look, though this method needs several hours of drying time.
- Press letter stamps into a soft metal blank with a hammer for a rugged, handmade finish.
- Print a design on shrink film (a thin plastic sheet), then use scissors to cut around the shape before baking it in the oven. Make sure to keep the oven temperature low and watch it closely as it shrinks. The design will turn out smaller and thicker once it has cooled.
- Repurpose a metal lid or old jewelry piece as an eco-friendly base for a brand new design.
Keep your schedule flexible if you choose resin because the curing time can be different, depending on the brand.
Best Materials for Long-Lasting Pet Tags
The material you choose for your pet tag can determine how long it lasts and how it feels on your pet's collar. For example, a large dog that spends a lot of time outdoors may need a stronger tag than an indoor cat.
- Metal: Metal resists scratches and fading, which makes it an ideal choice for a dog that spends most of the day outside.
- Wood: Wood gives your pet tag a warm, natural look, though it needs a clear sealant coat to prevent warping over time.
- Acrylic: This is a popular and light plastic option available in clear, colored, and white. It holds fine text nicely, making it appropriate for tags mostly worn inside.
- Leather: Leather softens and remains flexible over time, so it’s also a great choice for a pet tag. It can be very charming with your pet’s name either stamped on or engraved to personalize it.
If you go with wood or leather, Resparked's Customizer Pen comes with practice pieces so you can test your design before working on the final tag.
How to Make Your Pet Tag Water Resistant and Durable
- Seal the Tag Before Your Pet Wears It: Apply a transparent sealant to the wood or acrylic tag to protect the engraving from moisture. This way, it’ll withstand rain, baths, and the general wear-and-tear your pet’s tag goes through.
- Check the Fitting Often: If your pet tag keeps rubbing against a chunky collar buckle, check it weekly or every few weeks for thin spots. A properly secured tag will provide long-term peace of mind; a poorly fitted one will not.
Design Ideas for Your Pet Tag
Your pet tag doesn't have to be plain. With a little thoughtfulness and creativity, you can turn a plain chunk of acrylic or a piece of wood into art your pet can carry around. While it is easy to alter things a bit as you go along, don't stress out over getting it perfect on the first try.
Ways to Personalize Your Tag
- Add a QR Code: Link your pet’s tag to an online profile with your contact information and additional notes about your pet, such as allergies and medications. This will give whoever finds your pet the information they need to ensure they’re safe before they can be returned to you.
- Use a Themed Shape: What's your pet's favorite thing? A bone, a paw, a heart-these shapes will reflect your pet’s personality, while adding a playful visual element.
- Mix Fonts and Icons: Using a heavier, more substantial font for the name and a smaller icon will ensure that your pet's name is easily visible and that the finished product looks put-together.
These small touches will allow you to add personality to your tag. A bright, white tag or an off-white one will allow you to easily read dark, engraved letters from several feet away. Take your time when personalizing your pet tag because your pet will be wearing the tag on their collar, every day.
Common Mistakes to Avoid When Making a Pet Tag
There are quite a few errors that you may face that will require starting your tag over.

Mistakes That Ruin a DIY Tag
- Too much pressure can fracture or split the tag made of thin acrylic or soft wood, so use light pressure to ensure the engraving does not become too harsh, cracked or splintered.
- Test your engraver on a sample piece of scrap material to get a feel for the correct pressure, speed, and height.
- Always ensure your hole will be placed far enough away from the edge so that the split does not happen when under the strain of the collar ring. You can prevent this in future tags by spacing your elements appropriately to avoid thin points near the hole.
- Be sure to consider the size of your pet. If the tag is too big, the pet may be uncomfortable, and if too small, the text you want might not fit.
Frequently Asked Questions
Is It Safe to Engrave a Pet Tag Yourself?
Many beginners have the same question: is engraving at home safe? The answer is yes, as long as you keep your fingers clear of the tool tip and secure the blank before you begin. Wear safety eyewear if you’re using a laser engraver or a rotary tool because they can cause little bits of metal and acrylic to fly up while you work.
Can You Create a Cat Pet Tag That’s Quiet?
Yes. A leather or acrylic pet tag is considerably quieter than a metal one, which helps cats that get startled by jingling. You could even use a little rubber tag silencer if you’ve already created a metal one.
How Do You Clean a Pet Tag You Made Yourself?
To clean a metal pet tag, wipe it with a damp cloth and mild soap, then dry it right away to avoid water spots. Don’t use potent chemicals on a wooden or leather pet tag repeatedly, as it could dry out or discolor these materials.
Is It Possible to Engrave on Both Sides of a Pet Tag?
Yes, you can engrave on both sides of your pet tag as long as it is thick enough to hold clean lines without cracking. Lots of pet owners add their pet's name to the front and also a telephone number or address on the back.
What Size of Pet Tag Is Best for Small and Large Dogs?
Small and toy breeds usually do best with a tag around one inch or smaller, since anything bigger can feel heavy on a thin collar. Large and giant breeds can comfortably wear bigger tags, usually between 1.25 and 2 inches.
Does a Pet Still Need a Tag if It Has a Microchip?
Yes. You can use both because a microchip needs a scanner and a database lookup, while a tag gives an instant phone number anyone can use right away. The two work well together, since a tag speeds up a reunion even before a shelter or vet gets involved.
Conclusion
Metal and acrylic tags are the best if your pet spends a lot of time outdoors, but the right choice comes down to your own preference. When making your own pet tag, start with an easy design, then work your way up to something more detailed once you feel comfortable.
Use a cordless engraving pen if you want the most control over your design and clean lines on wood, leather, acrylic, or metal tags. Making your own pet tag is a great choice for a beginner project, and it also makes a lovely gift for another pet owner