
Design Trace Library
Find It. Size It. Make It Yours.
- 1Pick a design
- 2Enter your size
- 3Print & trace

Nothing Matches That
Try another detail level, or clear your search.
Shown to scale on the page
—
How Big Is Your Piece?
Step 1Measure the space you want to fill. We size the design on its longest side.
Not sure? Start from a common size:
Your Template
Step 2- Width
- —
- Height
- —
- Sheet
- —
Printing tip: choose Actual Size, then check the ruler on the page.
How Do I Transfer the Design to My Piece?
Use a regular graphite pencil to transfer the design onto your surface before engraving.
 1
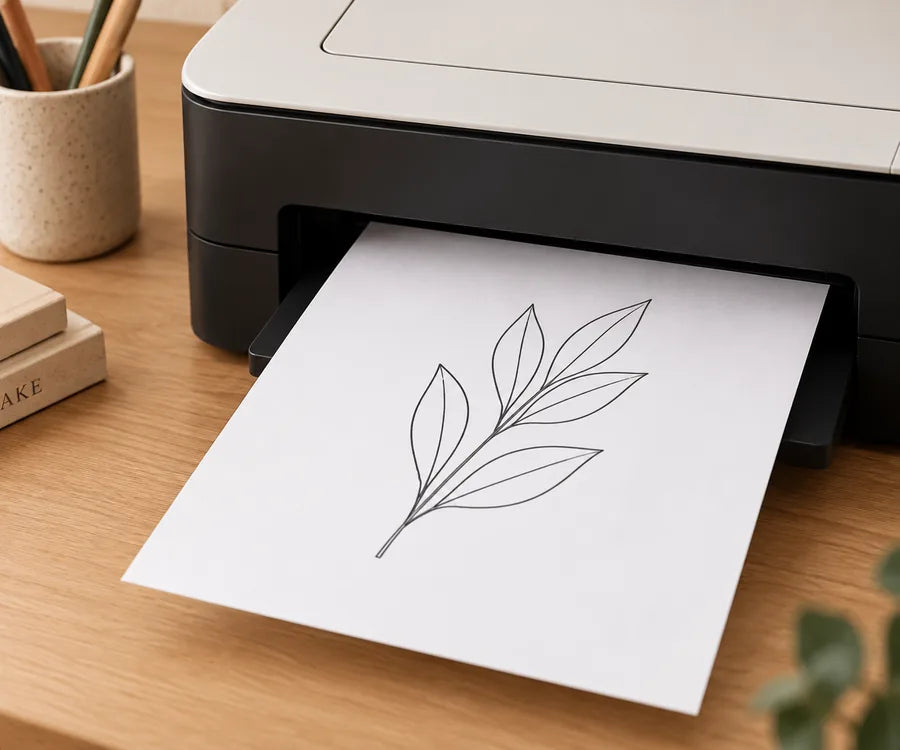
1Print Your Design.
Print your template at the size you need.
 2
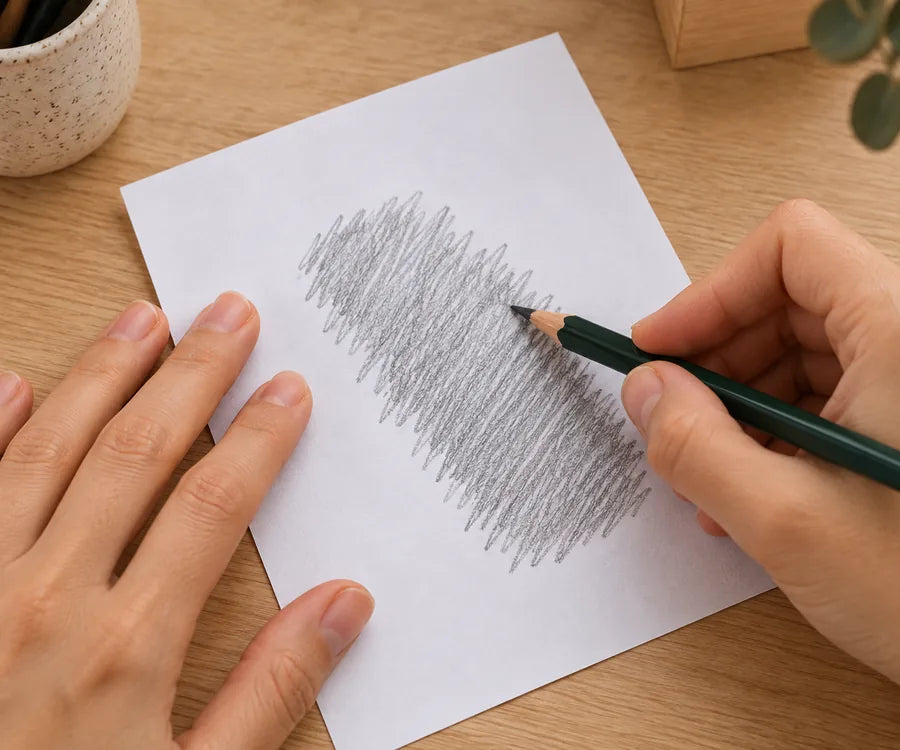
2Shade the Back.
Flip the paper over and use a graphite pencil to shade the back of the design. Make sure you cover the entire area behind the lines you’ll be tracing.
 3
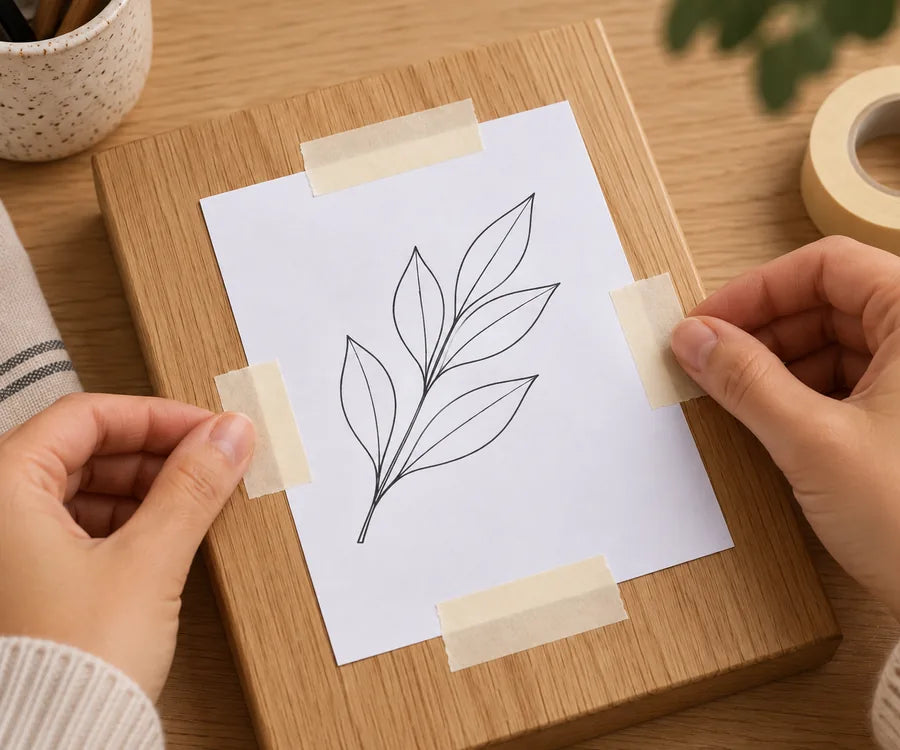
3Tape It in Place.
Place the template design-side up on your piece and secure the edges with tape. Make sure the paper can’t shift while you trace.
 4
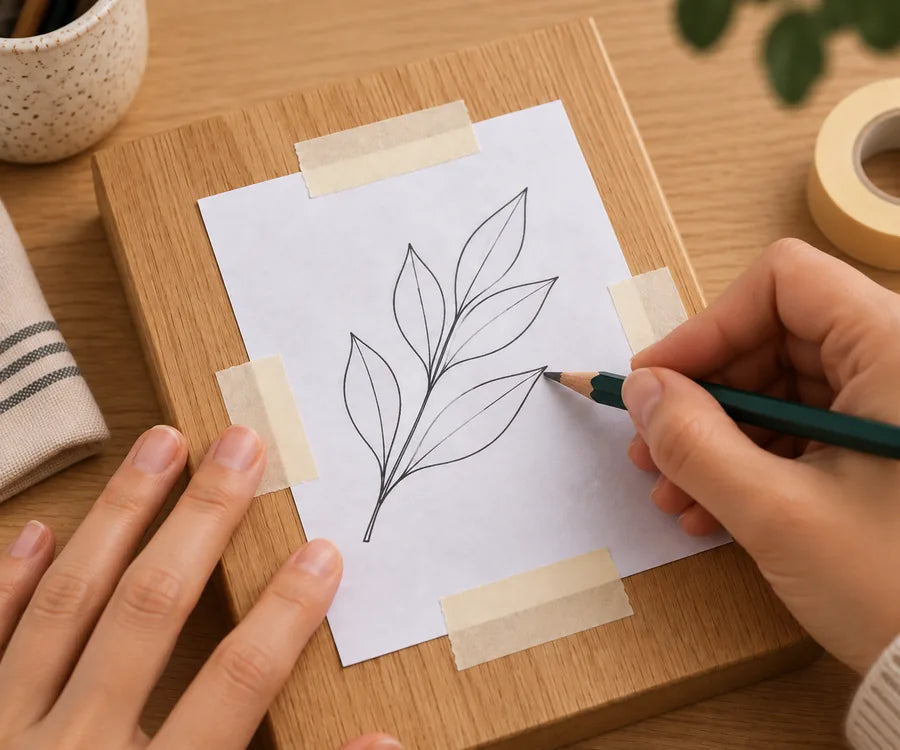
4Trace the Design.
Trace over the printed lines with a pencil. Apply enough pressure to transfer the graphite underneath onto your surface.
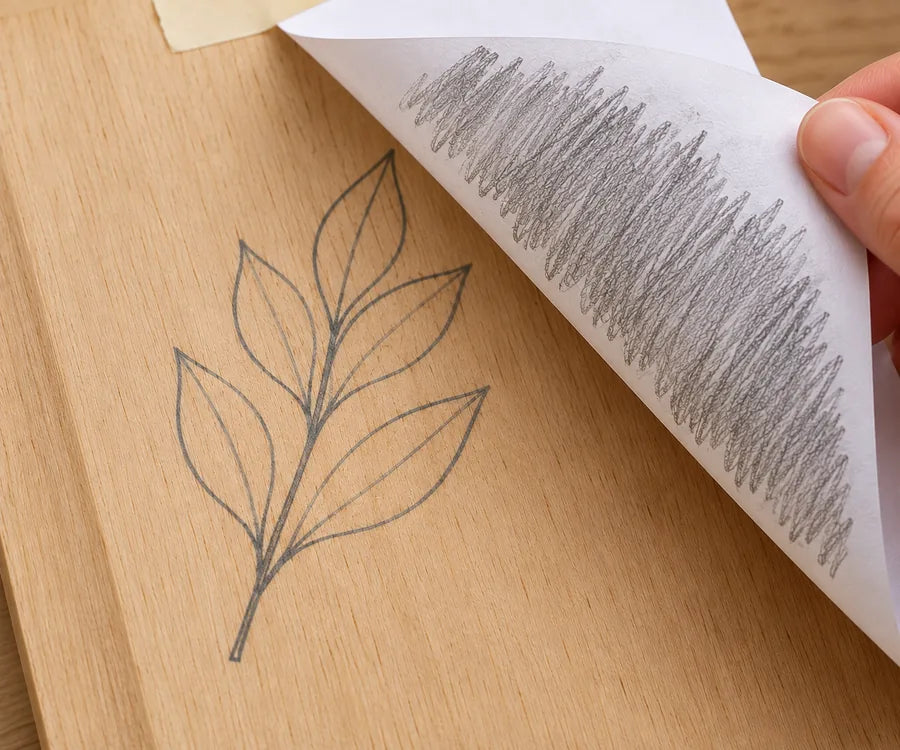 5
5Lift & Engrave.
Carefully remove the paper. Your design is now transferred and ready to engrave with your Customizer™.
Pro tip: A regular graphite pencil, such as an HB or 2B, works well for transferring the design.
Pro tip: Have transfer or carbon paper? Skip step 2 — place it ink side down between your template and your piece, then trace.