What Is Glass Engraving? A Beginner's Guide to This Beautiful Craft

Imagine giving someone a glass bottle as a gift. Nice, right? Now picture that same bottle, with their name carved into the surface in delicate lettering, set against a floral pattern, glowing softly from a rechargeable LED cork inside.
That second one doesn't just earn a "thanks." It gets displayed on a shelf for years.
That's what glass engraving does. It transforms something ordinary into something deeply personal and lasting. And you don't need prior experience or creative training to do it. With the right glass engraving tools and a little patience, you can create stunning personalized gifts at home, even on your very first try.
This guide will take you through the essentials: what glass engraving is, how the process works, which tools to use, and finally, a step-by-step walkthrough for your first project. Let’s begin.
What is Glass Engraving?
Glass engraving is the art of carving designs, letters, or patterns into glass using a hard or abrasive tool (like an electric engraver). The tool removes a thin top layer of glass material, creating a permanent mark that scatters light differently from the surrounding clear glass. This gives you a frosted, bright image that pops beautifully.
Unlike paint or vinyl decals, you carve an engraved design physically into the glass. It won't peel, fade, or wash off in the dishwasher. That permanence is precisely what makes glass engraving such a powerful way to personalize a piece: it's there forever.
Glass Engraving vs. Glass Etching: What’s the Difference?
These terms are commonly used interchangeably, but the processes behind each are different. Glass etching, also called acid etching, uses a chemical cream you apply through a design template to chemically frost the glass surface. It's popular for flat surfaces, mirrors, and wine glasses because it requires no powered tools.
On the other hand, glass engraving physically removes material from the glass surface using a rotary tool with diamond burrs, a diamond-point stylus, or a laser engraver. The result is a deeper, more detailed mark that offers greater creative control.
Engraving offers greater precision and is faster for uniform patterns on flat glass. However, both produce a frosted effect and are genuinely beginner-friendly.
Why is Glass Engraving Such a Beloved Craft?
Here are a few reasons why people enjoy glass engraving:
- It Makes Deeply Meaningful Personalized Gifts: Engraved wine glasses, bottles, and mugs are permanent, one-of-a-kind presents that show real thought and care.
- It's a Calming, Creative Hobby: The process is quiet, focused, and meditative. Most beginner projects take between 30 and 90 minutes to complete.
- Your Designs Last Forever: No peeling, fading, or washing off; so the engraved glass becomes a keepsake.
- It's Surprisingly Easy to Start: With the right tools and a stencil, you can create impressive results on your very first try.
What Are the Best Tools for Glass Engraving?
The right glass engraving tool set makes the whole process smoother and more enjoyable, especially when you're just getting started. Here's what you actually need:

1. An Engraving Pen / Rotary Tool Machine
This is your primary glass engraving tool. Look for these qualities when choosing a rotary tool machine for glass work:
- Cordless: Freedom of movement and no cord pulling on your hand during precision work.
- Compact: A heavy machine causes hand fatigue quickly; a compact pen lets you maintain precision for longer sessions.
- Variable Speed Settings: Different engraving tasks need different power levels; variable speed control is one of the most useful features a beginner can have.
- Rechargeable: USB-C fast charging is the most convenient option for home tools.
The Resparked Engraving Pen is a well-designed machine that hits all of these criteria. It's cordless, compact, and USB-C rechargeable. Three speed settings (8,000–21,000 RPM) give you control over the engraving depth and precision across a wide range of tasks. The included Mastery Guide explains which speed settings work best for which types of glass engraving. It also works on over 50 surfaces beyond glass, such as wood, leather, metal, ceramic, and acrylic, making it one of the most versatile glass engraving tools a beginner can own.
2. The Diamond-Point Stylus
A diamond-point stylus is a handheld tool with a diamond or tungsten carbide tip without a motor. With it, you manually scratch designs into the glass with controlled pressure, making it one of the best methods of glass engraving for experienced users. It requires a very steady hand, and the depth and quality of the line depend entirely on your manual control. It's particularly well-suited for:
- Skilled professionals drawing straight lines and fine inscription work
- Delicate lettering and monograms
- Stipple engraving, which is a celebrated technique where thousands of tiny dots are tapped into the glass to build up a detailed image
Mastering stipple engraving takes years of practice, so it’s not beginner-friendly.
3. A Sandblasting Gun
Sandblasting takes glass engraving to a deeper, more dramatic level. A sandblasting gun propels fine abrasive dust at high speed through a mask onto the glass, blasting away the top layer to create bold, textured results that no other method can replicate.
It's the go-to tool for:
- Large surface areas
- Intricate patterns and bold decorative designs
- Commercial applications, such as company logos on glassware and decorative window panels
Sandblasting is also too advanced for beginners. It requires a dedicated sandblasting machine, an air compressor, and serious safety precautions. It's more commonly used by small businesses and professional engravers than home crafters.
4. A Laser Engraver
A laser engraver uses a focused beam to vaporize the top layer of glass with exceptional precision, producing clean, detailed, repeatable designs. CO2 laser engravers are the best choice for glass because they operate at a wavelength that glass absorbs efficiently, giving you bright, frosted results every time.
A few things that make laser engraving stand out:
- It can reproduce the same design, logo, or text at scale with no variation.
- A rotary attachment lets it engrave curved surfaces, such as bottles and wine glasses.
- Reducing the laser power to around 70% prevents microfracturing of the glass.
- Placing a damp paper towel over the surface before engraving produces a cleaner, brighter result.
A quality glass laser engraver starts at around $300. It’s pricey, but it’s a powerful investment for businesses producing personalized items in volume.
Accessories for Easy Glass Engraving
Stone Grinding Bits
This Stone Grinding Bit Set gives you five tungsten steel bits in graduated sizes for deep, clean lines on glass, ceramic, and other hard surfaces:
- 1.5mm Bit: Ideal for fine detail work and tight areas.
- 2.5mm Bit: Great for precise lines and moderate detail.
- 4mm Bit: A versatile mid-size option for general engraving.
- 6mm Bit: Suited for broader lines and bolder designs.
- 8mm Bit: Best for filling large areas and deep carving.
All bits have a 2.35mm shank, making them fully compatible with the Customizer engraving pen, and come stored in a durable acrylic case. For smoother results, wet the surface while engraving so the bits glide more cleanly through harder materials.
Stencils
Stencils or engraving templates are necessary for beginners. They guide your engraving tool along the design so you don't need freehand drawing skill or a specially trained, steady hand. Adhesive design templates adhere directly to the glass and peel off cleanly once done.
Commonly used stencil designs include lettering, floral shapes, geometric shapes, monograms, and holiday motifs. Using a stencil bundle that includes nature, animals, lettering, patterns, and Christmas designs will save you the cost of buying each one individually.
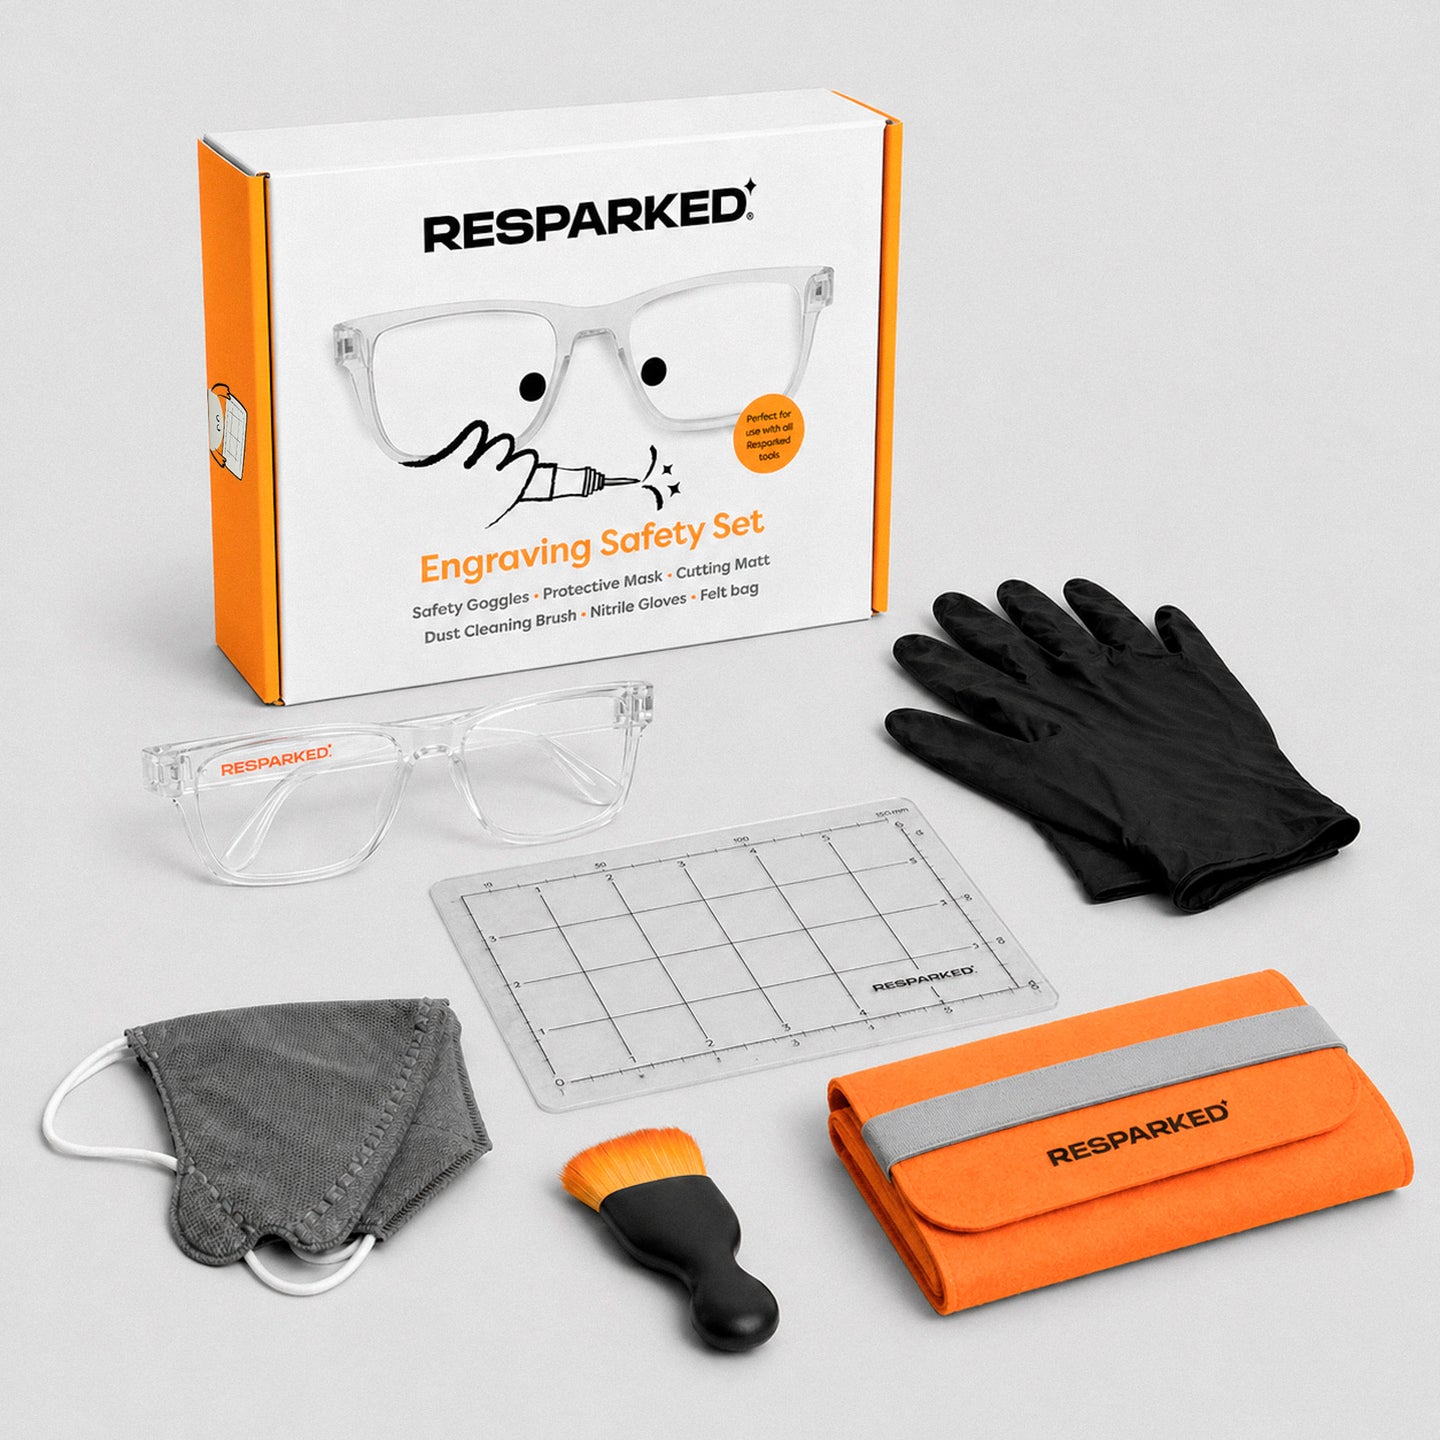
Safety Gear
Glass engraving produces fine glass dust, so you must protect yourself. Before every session:
- Safety Goggles: Very important — even a tiny bit of glass dust is dangerous to the eyes.
- Dust Mask: Even brief engraving sessions produce dust that shouldn't be inhaled.
- Cutting Mat: To protect your workspace when engraving.
- Gloves: For grip and protection.
Safety gear is inexpensive and makes the entire process far more comfortable and confident. Use an engraving safety kit to get everything you need in one place.
Practice Material
Always practice on a scrap piece before engraving your main project. You can use inexpensive cast glass from a dollar store because it engraves smoothly and costs almost nothing.
Alternatively, the Resparked Glass Engraving Kit includes a dedicated 2.4 x 2.4-inch (6x6cm) glass practice piece so you can test your tools and build confidence before starting your actual project.
The kit also includes a glass bottle, a stencil set with lettering and floral designs, glass paints (six colors plus gold), a USB-rechargeable LED cork, and step-by-step instructions with video support. Just add the Customizer Engraving Pen, and you're ready to create.
How to Engrave Glass: Your First Project Step by Step
- Gather Your Supplies: Get your engraving pen, bits, adhesive template, safety goggles, dust mask, spray bottle of water, non-slip mat, and your glass piece.
- Clean the Glass: Wipe thoroughly with rubbing alcohol and a lint-free cloth. Any residue will prevent the template from sealing and cause messy lines.
- Apply the Template: Press it firmly onto the glass and burnish every edge with your fingertip. Loose edges are the most common beginner mistake.
- Engrave: Hold the pen like a writing pen at a low speed setting. Use light, consistent pressure and let the bits do the cutting. Mist the glass with water every few minutes to keep bits cool and dust settled.
- Reveal: Peel away the template and wipe the glass clean with a damp paper towel. Hold it up to the light and watch your design come to life.
Tips for Better Glass Engraving Results
These practical tips and techniques will help you get cleaner designs and more consistent results from your glass engraving tools, especially in your first few sessions:
- Choose the Right Glass: Avoid tempered glass because it's under internal stress and can crack during engraving. Inexpensive cast glass is actually more suitable than costly crystal, since crystal can have stress points that cause cracking. Flat surfaces are the easiest place to build your skills.
- Use Low Speed Settings: Many engravers instinctively reach for maximum power — don’t do that. Lower speed gives you more control, cleaner lines, and better precision. Most beginner engraving work benefits from slower speeds, not faster ones.
- Use Light Pressure, Always: Lightly guide the machine gently, while the bits do the cutting. Pressing hard is the most common beginner mistake and causes chipping and cracking. Let the tools do their work.
- Keep Your Bits Cool: Mist the glass with water regularly throughout the process. Dry bits overheat and wear out faster. Keep paper towels on hand to wipe the surface before each new pass.
- Practice Every Session: Even experienced engravers test a new bit size or design on a scrap piece first. Use a practice glass piece to build precision and confidence before moving to your main project.
Frequently Asked Questions
What Types of Glass Can I Engrave?
You can engrave bottles, vessels, mugs, vases, jars, mirrors, windows, and picture frames. Avoid tempered or laminated glass, as both can crack due to internal stress during the engraving process.
Is an Engraved Glass Dishwasher Safe?
Rotary-engraved designs are physically carved into the glass and are generally dishwasher safe. However, if glass paint has been applied over the engraved image, it’s best to wash by hand to preserve the color and finish.
Can You Engrave Curved Glass Like Ceramics and Bottles?
Yes. A rotary tool works well on curved glass. Cradle the piece on a non-slip mat or a rolled towel to keep it stable.
Is Engraving Safe to Do at Home?
Yes, with basic precautions. The main hazard is fine glass dust. Always wear safety goggles and a dust mask, tie back long hair, and keep your glass misted throughout the process.
What Glass Is Best to Practice On?
Affordable cast glass from a dollar store is ideal because it engraves smoothly and costs almost nothing to experiment with.
Can You Add Color to Engraved Glass?
Absolutely. Once the engraving is complete, fill the engraved areas with glass paint for a vibrant, colorful result.
Conclusion
Engraving is one of those crafts that look impressive, feel satisfying, and are genuinely easier than many expect. You don't need to be an expert engraver. You don't need a high-end laser engraver device or years of skill. You just need the right engraving tools, a template, and a little patience with the process.
The best personalized pieces are real, lasting, and one-of-a-kind. They're the ones that show someone you made something specifically for them. An engraved glass bottle with their name glowing from a rechargeable LED cork says more than anything you could buy off a shelf.
